HOW TO BUILD
A SAUNA
By Gavin Deriu
Background:
This how-to guide is a bit more ‘niche’ because not everyone
would go to the trouble of building a whole sauna, and if they did it usually
requires the help of a builder or some kind of sauna installation specialist.
Plus it’s a lot more expensive than most of the DIY jobs I’ve blogged about.
But if you’ve ever wondered how a sauna works or what goes
into its construction, this guide will still be useful. Sweating it out in a
sauna is a great way to relax and revive, including getting rid of a lot of
toxins in your body.
STEP 1:
Find yourself a builder. Failing that, you can probably call
upon one of your carpenter mates to help you. I say this because building a
sauna is a job that is very construction-heavy and involves a lot of woodwork.
It’ll also require some electrical work. Fortunately, my Dad’s a builder so we
had no shortage of expertise. Bonus: he also has a ute, which is necessary to
carry the timber and other materials.

STEP 2:
You’ll need to purchase cedar timber panels for the walls,
ceiling and floors. This will require a lot of estimating, so you might want to
consider buying a second-hand sauna or a pre-measured sauna set to take away
the guess-work – much easier!
Another consideration is whether your sauna will be
free-standing or built-in somewhere under/attached to your house. We chose to
fit our sauna underneath our rear deck, next to an existing bathroom/changeroom
for the pool.
STEP 3:
This is where you’ll need an electrician for some simple
electricity work, namely to run wires and a switch for the light and also to
run a power line for the heater that will go in later.
STEP 4:
Since our sauna was surrounded by an existing structure, in
this step we used timber beams (like the type that sits behind your house’s inside
walls) to build a frame for the sauna. In later steps, the cedar panels will be
nailed to this frame, so make sure it’s all straight and level!
STEP 5:
A sauna works by getting water and pouring it over extremely
hot rocks, which causes hot steam and increases the temperature. As a result,
there is a lot of moisture and humid air involved. Therefore your next step is
to lay INSULATION around the frame (this keeps the heat in) and also to lay
what is called SISALATION which is a material that prevents moisture from
escaping.

These two materials will ensure that (a) your sauna keeps
the heat in, and (b) that moisture doesn’t escape and do damage to the
surrounding timber and electrical wires.
STEP 6:
Now it’s time to nail all the cedar panels to the frame to
make the walls, ceiling and floor of your sauna. This is a big task, and it could
take a few days because it requires a lot of measuring, cutting and levelling
of timber (unless you bought a pre-made sauna set, in which case it should be
all measured up and ready to go).
You might also want to put some kind of lip/cornice to
neaten up the edges, as you can see in the photo below.

STEP 7:
Time to add a door. We were lucky because we already had a
pre-made door, so it was just a matter of lining it up and fixing it into the
empty hole that we had left in one of the walls. The door doesn’t have a lock,
and should always open outwards. It’s also necessary to have a glass window in
the door for safety reasons.

STEP 8:
At this stage, your sauna should be an empty timber-panelled
room. You don’t want to sit on the floor, so it’s now time to build some seats.
We used horizontal panels and made the seats span from one wall to the other,
then branching off in an L-shape.

STEP 9:
Time for the finishing touches... Firstly you’ll need a
heater. This is a device that contains rocks in it, and it heats up those rocks
when turned on. It’ll need to be connected to the electricity wires you had put
in earlier on.

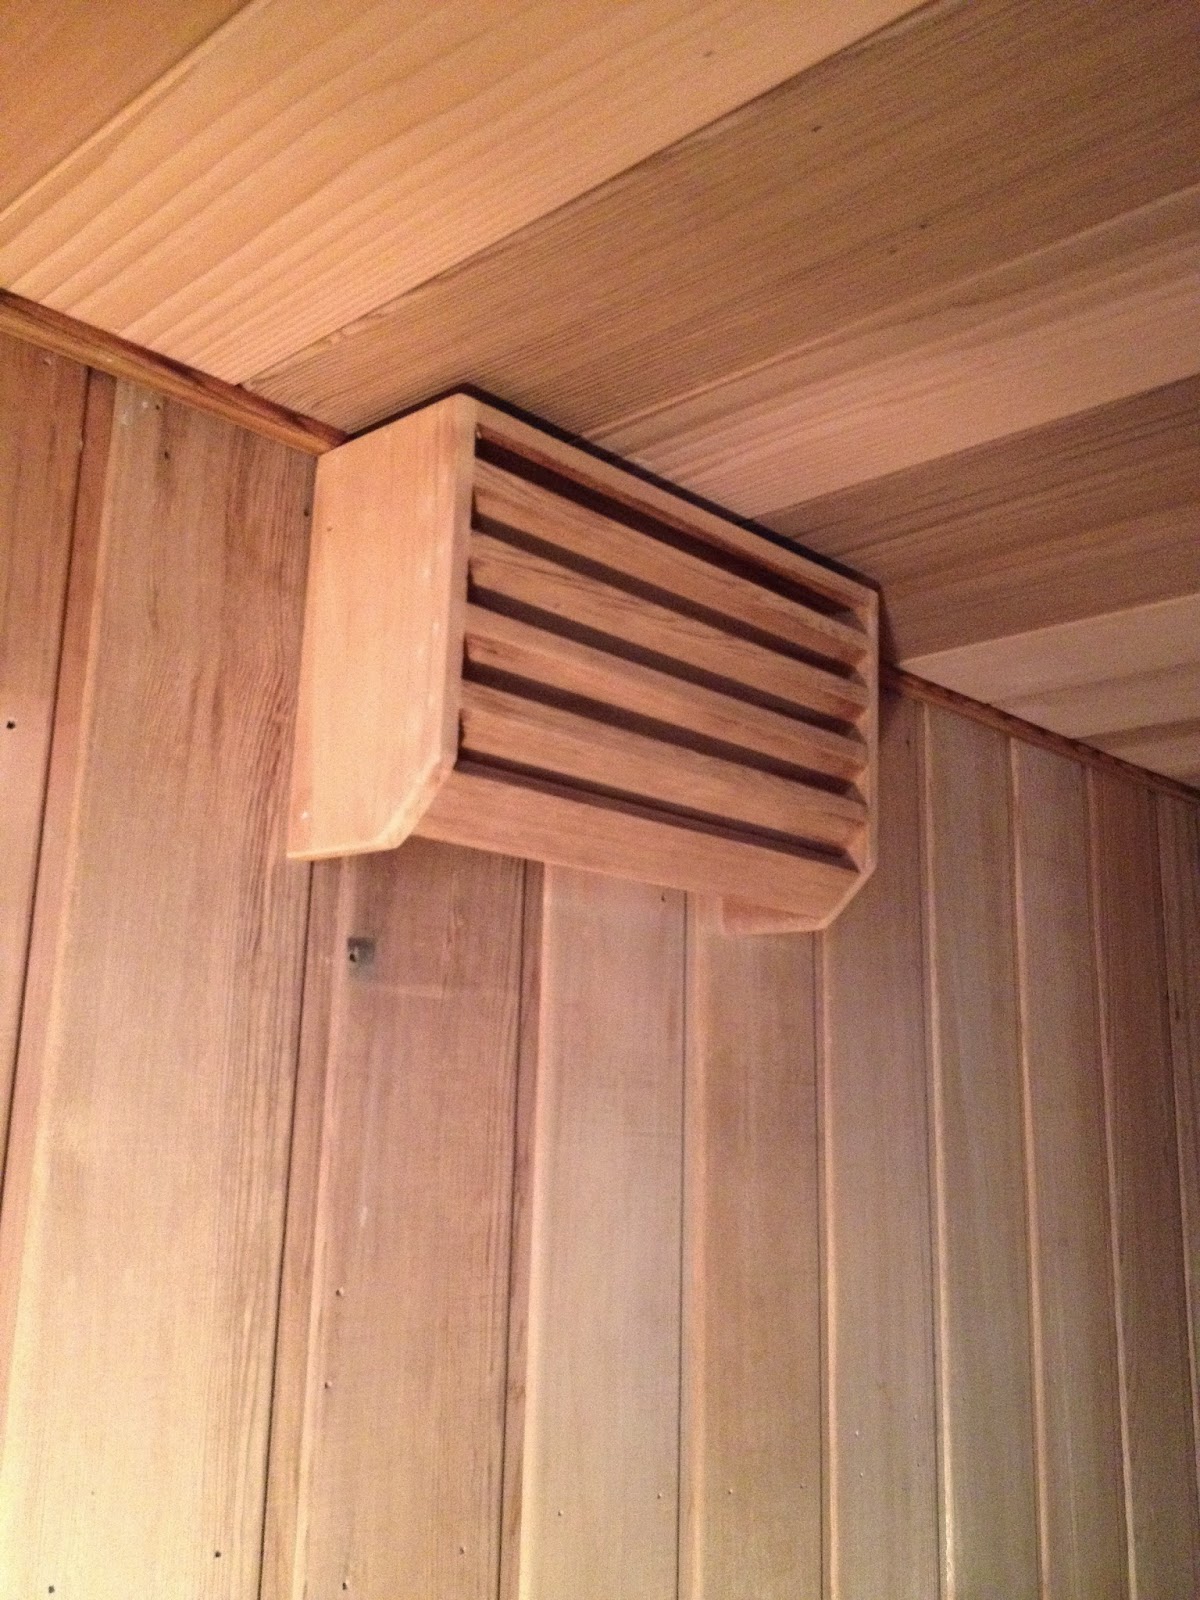
Another final touch is the light (must be a special kind of
bulb to resist the moisture, and preferably protected by timber shutters like
this).
STEP 10:
Now your sauna is ready! Put a temperature and humidity gauge
up on the wall because this is necessary so that you can keep the room at an
ideal temperature. Remember that a sauna is most effective if you use it for no
more than 10 minutes at a time – so don’t spend too long in there. Also keep
hydrated!
No comments:
Post a Comment